 Algae AwareInitiative
Stormwater solution kit
How to take a sample, time your strips, and read the colors. Everything here matches the printed guide.
The QR card in your kit opens this page.
Start here
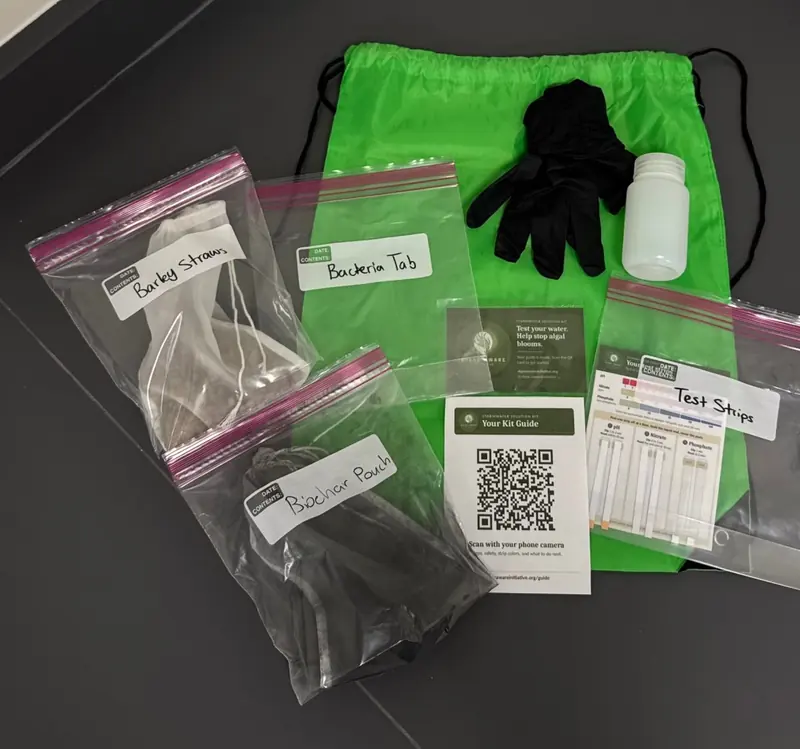
Your kit has two parts. The test items show what's in the water. The action items help keep algae from growing.
Test
Shows what's in the water.
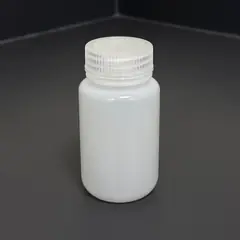 Sample bottle 4 oz (about 120 mL). Holds the water you test.
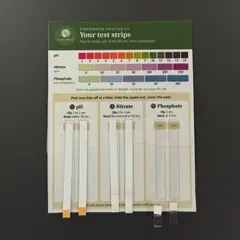 Test strips 2 each of nitrate, phosphate, and pH. Keep them sealed and dry.
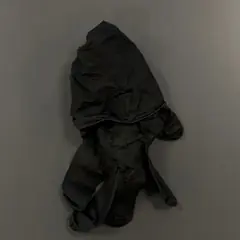 Gloves 1 pair of black nitrile gloves. Wear them when you touch the water.
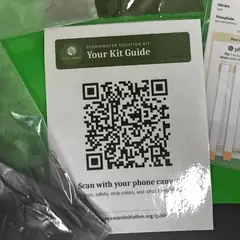 QR card and strip card The QR card opens this page. The strip card shows which strip is which and the colors to match.
Act
Helps keep algae from growing.
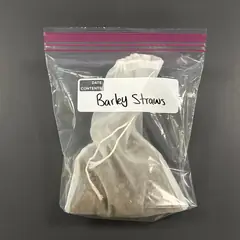 Barley straw pouch White mesh bag of pellets.
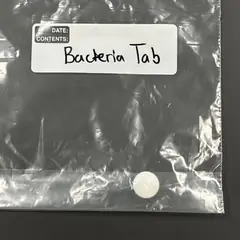 Bacteria tab 1 white tablet in a labeled bag.
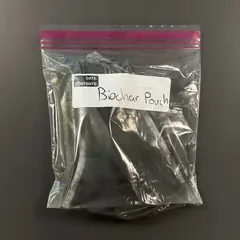 Biochar pouch Gray cloth bag.
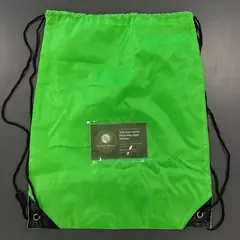 Drawstring bag Green bag that holds it all. Keep it and reuse it.
Until you use it, keep your kit somewhere cool and dry. Leave everything sealed in its labeled bag.
Test · step 1
You'll need your sample bottle, gloves, your test strips and strip card, and a phone or notebook.
You have 2 of each strip. Test 2 different places, or test the same place twice: once on a dry day and once right after a big rain.
Pour the used sample on the ground, away from the water, or down a sink. Don't pour it back in. Used strips and gloves go in the trash. Wash your hands.
Test · step 2
Test one strip at a time: pH first, then nitrate, then phosphate. Shake off the extra water after you dip, and start the timer right away.
Dip for 1 to 2 seconds. Shake it, start the timer, and compare before it runs out.
pH, step by step
Do pH first. The phosphate strip only reads right when the pH is 6 to 9.
Results
Hold the pad at the end of each strip next to the colors on the strip card in your kit and pick the closest color. The charts below are a backup. ppm means parts per million. These strips are made to catch high levels, like runoff from a fertilized lawn, so most lakes read 0. That is normal.
0: Common. The strip can't see small amounts, so this does not prove the water is clean.
10 or more: A lot of nitrogen. 10 ppm already matches Florida's highest nitrogen limit for any lake.
0: Common. The strip can't see small amounts, so this does not prove the water is clean.
10 or more: A lot of phosphorus. Even the first mark is many times more than Florida allows in any lake.
6 to 9: Normal for most lakes.
Above 9 on a sunny afternoon can mean lots of algae.
Below 6 is acidic, which is natural in some Florida lakes.
Use the strip card when you can. Screens show colors a little differently, so if you use the charts here, read in daylight with your brightness up. If you can't tell, choose “unreadable” when you log it.
A high reading means extra food for algae, not that the water is toxic.
Safety
Act
The barley pouch, bacteria tab, and biochar pouch are for your own property, like a backyard pond, fountain, or downspout. Never put them in a lake, river, spring, or other public waterway.
Helps stop new algae from growing. It does not clear a bloom that is already there.
How to use it, page 9Adds helpful bacteria that break down muck, dead leaves, and fish waste, so algae get less food.
How to use it, page 10Catches some dirt and pollution in rainwater. Wear gloves when you wet it, and don't breathe in the dust. Never put it inside a storm drain or on a drain grate.
How to use it, page 11Running low? Page 13 of the kit guide lists refills. See refills. Want another kit? Request one.
Last step
An AAI reviewer checks every test before it appears. Locations are rounded so your address stays private.